
Interior designers, architects, and homeowners creating mood boards, presentations, or floor plans need quick access to visual assets that communicate ideas without the time investment of custom illustrations. That’s where interior design clipart comes in, pre-made graphics representing furniture, fixtures, architectural elements, and décor that can be dropped into digital documents, CAD drawings, or client proposals. Whether someone is drafting a room layout in SketchUp, assembling a design pitch in PowerPoint, or creating a Pinterest-worthy vision board, the right clipart saves hours and keeps projects moving. Understanding what’s available, where to find quality assets, and how to use them effectively makes the difference between amateur-looking mockups and polished presentations that win client approval.
Key Takeaways
- Interior design clipart accelerates project timelines by providing pre-made graphics for furniture, fixtures, and architectural elements that can be integrated into floor plans, presentations, and mood boards.
- Quality interior design clipart follows industry standards like AIA and IRC conventions, ensuring accurate dimensions (e.g., queen beds at 60×80 inches) and proper floor plan symbols for professional communication with contractors and permitting officials.
- Select clipart based on purpose: top-down, to-scale views for floor plans and elevation perspectives for client mood boards, while maintaining consistent line weights and style to avoid amateurish results.
- Sourcing from specialized libraries like Arcat, Adobe Stock, or CAD software bundles provides higher-quality vectors and accurate product dimensions compared to free resources, which often restrict commercial use.
- Work to scale in technical drawings, organize files into named layers, and maintain a personal clipart library to streamline iterations and prevent costly errors like furniture that exceeds room dimensions or violates clearance codes.
- Always verify licensing terms for commercial use, use editable vector formats for flexibility, and supplement clipart with professional consultation for structural or code-related decisions.
What Is Interior Design Clipart and Why Do You Need It?
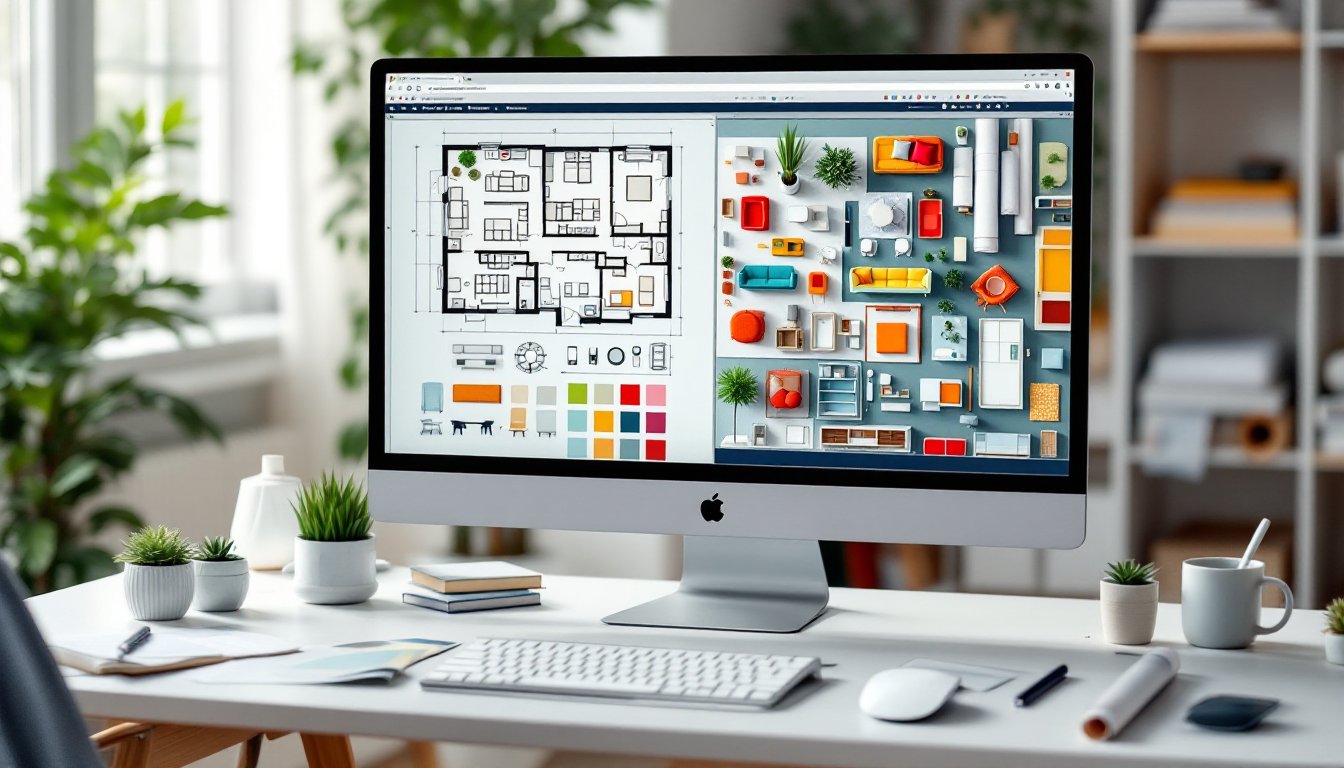
Interior design clipart consists of vector or raster graphics representing objects commonly found in residential and commercial spaces. These digital images range from simple top-down furniture outlines used in floor plans to detailed, shaded illustrations of sofas, light fixtures, cabinetry, and textiles.
Designers use clipart to communicate spatial relationships and design intent without starting from scratch. A sofa graphic scaled to 84 inches (a standard three-seater length) shows clients whether a piece will fit in their living room better than verbal descriptions. Floor plan symbols for doors, windows, and built-ins follow architectural conventions, making drawings readable to contractors and inspectors who need to understand room flow and egress requirements per the International Residential Code (IRC).
Clipart also speeds up the iterative design process. Swapping a wingback chair for a mid-century lounge in a mood board takes seconds with pre-made assets, whereas redrawing or photographing alternatives eats into billable hours. For DIY homeowners planning renovations, clipart helps visualize furniture arrangements before committing to paint colors or layout changes, a low-cost way to experiment before moving heavy objects or hiring movers.
Types of Interior Design Clipart Available
Not all clipart serves the same purpose. Understanding the categories helps match graphics to specific project needs.
Furniture and Decor Elements
Furniture clipart includes seating (sofas, chairs, benches), tables (dining, coffee, console), storage (bookcases, dressers, cabinets), and beds. These graphics come in two main views: elevation (front-facing, showing style and proportions) and plan view (top-down, showing footprint and clearances). Elevation graphics work best in mood boards and client presentations where aesthetic matters. Plan-view furniture, drawn to scale, is essential for accurate floor plans.
Decor elements cover lighting fixtures (chandeliers, sconces, table lamps), textiles (rugs, curtains, throw pillows), artwork, plants, and accessories. Vector versions allow designers to adjust colors and scale without losing quality, critical when a rug needs to visually match a specific Pantone swatch or fit a 9×12-foot floor area precisely.
Most professional-grade furniture clipart uses standard dimensions: a queen bed measures 60×80 inches, a standard dining chair occupies roughly 18×20 inches in plan view, and a sofa depth typically runs 36–40 inches. Accurate scaling prevents the common mistake of designing a room where furniture looks perfect on screen but doesn’t physically fit the space.
Architectural Features and Floor Plan Symbols
Architectural clipart includes doors (swing, pocket, bifold, sliding), windows (casement, double-hung, bay), stairs, and built-in elements like fireplaces or kitchen islands. These symbols follow American Institute of Architects (AIA) standards, ensuring drawings communicate clearly to builders and permitting officials.
Door symbols indicate swing direction, a critical detail for meeting egress codes. A bedroom door must swing inward and clear at least 32 inches when open per IRC standards. Using proper symbols prevents layout errors that could delay permits or require costly rework.
Floor plan symbols also represent electrical outlets, light switches, plumbing fixtures, and HVAC components. These may seem mundane, but they’re essential for renovation projects where moving a toilet or adding a ceiling fan requires plumbing or electrical work that must meet National Electrical Code (NEC) and local plumbing codes. Clipart libraries with these symbols save time and reduce miscommunication between designers and trades.
Some clipart collections include texture fills, wood grain, tile patterns, carpet textures, that enhance floor plans and elevations. A hardwood floor texture in a rendering helps clients visualize material choices more effectively than blank shapes.
Where to Find High-Quality Interior Design Clipart
Sourcing reliable clipart requires balancing quality, licensing, and file format.
Free resources like Freepik and Vecteezy offer thousands of interior design graphics. Free assets work for personal projects or early-stage concepts, but licensing often restricts commercial use unless users upgrade to paid plans. Always check attribution requirements, some free clipart demands credit lines that clutter professional presentations.
Paid stock sites such as Adobe Stock, Shutterstock, and iStock provide broader commercial licenses and higher-quality vectors. Subscription models (10–50 downloads per month) make sense for active designers. One-off purchases cost $10–$50 per asset depending on resolution and exclusivity.
Specialized design libraries cater specifically to architects and interior designers. Arcat offers manufacturer-specific CAD blocks and BIM objects, useful when specifying actual products like a particular Kohler sink or Herman Miller chair. These libraries ensure dimensions match real-world products, preventing the embarrassment of designing around a sofa that doesn’t exist at the specified size.
CAD and rendering software often bundle clipart libraries. SketchUp’s 3D Warehouse, AutoCAD’s Design Center, and Revit’s family libraries provide thousands of components. These native assets integrate seamlessly into project files and maintain consistency across drawings. But, quality varies, user-uploaded content may contain errors or outdated dimensions.
File format matters. Vector files (SVG, AI, EPS) scale infinitely without pixelation, ideal for floor plans and technical drawings. Raster images (PNG, JPG) work for mood boards but lose clarity when enlarged. For CAD work, DWG or DXF formats import cleanly into AutoCAD and similar programs.
How to Choose the Right Clipart for Your Project
Selecting clipart isn’t just about finding a pretty chair graphic. The right choice depends on project type, audience, and technical requirements.
Match the view to the purpose. Floor plans need top-down, to-scale furniture outlines. Client mood boards benefit from styled elevation views that show texture and color. Mixing views confuses the message, don’t drop a perspective rendering of a sofa into an orthographic floor plan.
Check scale and dimensions. A clipart armchair labeled 30 inches wide must actually measure 30 inches when imported at 1:1 scale in CAD software. Test a few pieces before committing to a library. Inaccurate clipart leads to furniture that doesn’t fit or violates clearance codes (IRC requires 36-inch minimum clearances in hallways, for example).
Consider style consistency. Mixing line weights, rendering styles, or color palettes makes presentations look amateurish. If one furniture piece uses thick black outlines, everything else should too. Similarly, a minimalist line-drawing aesthetic clashes with hyper-realistic shaded graphics.
Verify licensing for the end use. Free clipart often prohibits use in materials sold to clients. A designer charging for a mood board or floor plan needs a commercial license. Reselling clipart as part of a design template or course typically requires an extended license. Violating terms risks legal headaches and lost credibility.
Prioritize editable formats. Vector clipart allows color changes, dimension tweaks, and style adjustments. A locked raster image can’t adapt if a client requests a different finish or the room dimensions change mid-project.
Best Practices for Using Interior Design Clipart Effectively
Great clipart can still produce poor results if used carelessly. Following a few key practices keeps projects professional and functional.
Always work to scale in technical drawings. Set up CAD or design software with real-world units (feet and inches, or metric) and import clipart at actual dimensions. A sofa that looks fine on screen but scales to 12 feet long in the final print wastes everyone’s time. Use reference objects, a 3×5-foot rug or a 30-inch doorway, to spot-check proportions.
Layer and organize files. Put furniture on one layer, architectural elements on another, and annotations on a third. This separation allows quick edits, hiding furniture to show an empty floor plan, for instance, or printing only the architectural layer for permit submissions. Named layers (“Furniture-Plan,” “Lighting,” “Dimensions”) prevent confusion on complex projects.
Maintain a personal library. As projects accumulate, designers build collections of frequently used items, a go-to sofa, a standard door swing, a preferred pendant light. Organizing these into a custom library (sorted by category and style) speeds up future work. Spend an afternoon tagging and categorizing assets now to save hours later.
Don’t rely solely on clipart for structural decisions. Clipart can illustrate where a load-bearing beam might go, but it doesn’t replace engineering calculations or code compliance checks. If a project involves removing walls, adding windows, or altering framing, consult a structural engineer or licensed contractor. Clipart helps communicate the idea: professionals ensure it’s safe and legal.
Update assets regularly. Design trends and code requirements evolve. Clipart from 2015 might show outdated fixture styles or non-compliant clearances. Refresh libraries annually, especially for items tied to building codes, like egress window sizes or accessibility features per ADA guidelines.
Add context to avoid misinterpretation. In client presentations, include dimensions, material notes, or color callouts alongside clipart. A clipart sofa without labels could represent anything from a $500 Ikea piece to a $5,000 custom sectional. Clear annotations set expectations and prevent scope creep.
Finally, wear appropriate PPE when moving from digital to physical work. Once the clipart-assisted design is approved and construction begins, safety goggles, work gloves, and dust masks become necessary gear. The planning phase is safe: the demolition and installation aren’t. Keep the transition in mind and prep accordingly.