
A well-designed wardrobe interior doesn’t just store clothes, it streamlines morning routines, protects investments, and can add real value to a home. Too often, builders install a single rod and shelf, leaving homeowners to cram years’ worth of belongings into inefficient dead space. Smart wardrobe interior design treats the closet as functional architecture: every vertical inch planned, every drawer sized for purpose, and lighting that actually shows whether those socks are navy or black. Whether retrofitting a reach-in or building out a walk-in, the principles remain the same, measure twice, plan for the user’s actual wardrobe, and install systems that adapt as needs change.
Key Takeaways
- Wardrobe interior design starts with a detailed inventory of your actual garments and precise measurements—dress shirts need 18–24 inches of vertical space, while long coats require 60–72 inches—to eliminate wasted space and dragging hems.
- Smart wardrobe interior design maximizes storage through zone planning, placing daily-wear items at eye level (48–72 inches), seasonal goods high, and shoes below 24 inches to reduce unnecessary bending and reaching.
- Choose shelving systems based on durability and adjustability: modular systems adapt in 1-inch increments for budget-conscious DIYers, while custom built-ins offer premium finishes and heavier load capacity at 2–4× the cost.
- Proper lighting is essential for wardrobe functionality—aim for 300–500 lumens per 10 square feet with warm (3000K) or neutral (4000K) color temperatures, installed under shelves and along top edges for accurate color visibility.
- Include 10–15% expansion room when designing your wardrobe interior, as wardrobes inevitably grow, ensuring systems remain functional rather than becoming overcrowded within two years.
Understanding Wardrobe Interior Design Fundamentals
Wardrobe interior design starts with an honest inventory. The user should pull everything out, categorize by type (hanging vs. folded, shoes, accessories), and measure the tallest garment, widest stack, and longest run of hangers. Most dress shirts need 18–24 inches of vertical clearance, while long coats or dresses require 60–72 inches. Ignoring these dimensions leads to dragging hems and wasted upper space.
Standard closet depth is 24 inches, which accommodates most hangers perpendicular to the back wall. Shallow reach-ins can use 12-inch shelving on side walls or double rods for shorter items. Walk-ins offer flexibility: the user can run center islands at 36–42 inches wide (enough to open drawers on both sides) or L-shaped configurations that maximize corner zones.
The next fundamental is zone planning. Group daily-wear items at eye level (roughly 48–72 inches from the floor), seasonal or bulky goods up high, and shoes or hampers below 24 inches. This reduces bending and reaching, especially critical for users with mobility constraints.
Finally, account for wall studs and load-bearing capacity. Adjustable shelving systems (slotted standards, European track systems) anchor into studs every 16 or 24 inches on center. Shelves longer than 36 inches need mid-span support or thicker material, ¾-inch plywood or MDF is standard for painted finishes: solid hardwood or veneer-core ply suits stained applications. Skipping this step results in sagging shelves within months.
Essential Layout Options for Maximum Storage Efficiency
Single-hang layouts work for reach-ins under 6 feet wide. Install one rod at 66 inches high for long items, or stack two rods, one at 42 inches, one at 84 inches, to double short-garment capacity. Leave 12 inches above the top rod for a shelf.
Double-hang with side shelving suits narrow walk-ins (5–7 feet wide). The user dedicates one wall to stacked rods and the opposite wall to 12- or 16-inch adjustable shelves for folded goods and bins. This layout keeps categories visible and prevents the “pile and forget” problem.
U-shaped or L-shaped systems fit larger walk-ins (7+ feet wide). Hanging sections anchor the long walls, while the short return wall holds shelves, drawers, or a built-in dresser. Corners are tricky, lazy Susans or pull-out carousel units reclaim dead space, though they add cost and mechanical complexity.
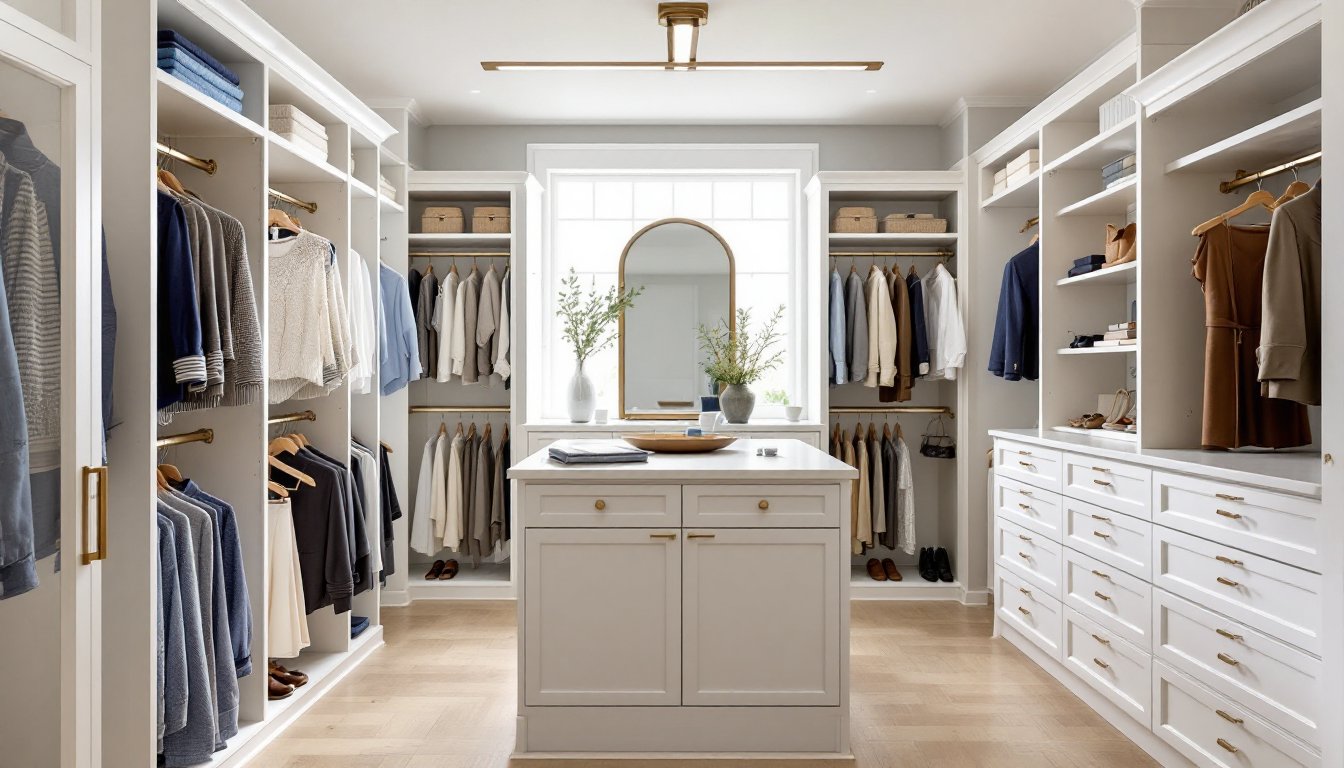
Island or peninsula configurations appear in luxury primary suites. A center island (minimum 36 inches wide × 48 inches long) provides drawer storage for accessories and a folding surface. The user must ensure 36-inch clearances on all sides for drawer operation and safe passage, per IRC accessibility guidelines. Smaller closets can’t spare the footprint.
Valet rods and pull-down systems expand vertical reach. A pull-down rod brings high-hanging items to shoulder height, useful for seasonal coats or formal wear. Valet rods swing out to stage the next day’s outfit without crowding the main rods.
Smart Storage Solutions and Organizational Systems
Modular systems (ClosetMaid, Elfa, IKEA PAX) use slotted standards or cam-lock panels. They adjust in 1-inch or 32mm increments, adapting as wardrobes change. Installation requires a level, drill, and stud finder: most DIYers can complete a reach-in in a weekend. Trade-off: visible hardware and particle-board components limit longevity compared to built-ins.
Custom built-ins use ¾-inch plywood carcasses, face frames, and site-finished panels. A finish carpenter scribes to walls, hides seams, and integrates crown molding. Built-ins cost 2–4× modular pricing and often require professional installation, but they feel like furniture and handle heavier loads.
Wire shelving (vinyl-coated or epoxy-coated steel) costs less and installs fast with plastic clips. But, wire spacing causes smaller items to tip, and weight limits (typically 50–75 lbs per linear foot on brackets 12 inches apart) restrict use for heavy shoe collections or folded denim.
Shelving, Drawers, and Hanging Configurations
Adjustable shelving should span no more than 36 inches unsupported: use ¾-inch material and add a center cleat or corbel for wider runs. Space shelves 10–14 inches apart for folded sweaters and jeans. Tighter spacing wastes height: wider gaps let stacks topple.
Drawer units fit beneath hanging sections or inside islands. Standard drawer depth is 18–21 inches: shallow trays (3–4 inches) suit jewelry and watches, while deep drawers (8–10 inches) hold bulky knitwear. Full-extension ball-bearing slides (rated 75–100 lbs) cost more than side-mount economy slides but provide complete access and smoother operation.
Hanging rods come in 1-inch or 1 5/16-inch diameter steel, chrome, or wood. Steel supports heavier loads: decorative wood rods suit open boutique-style closets. Mount brackets every 36 inches to prevent bowing. Velvet or slimline hangers save ½ inch per garment compared to bulky plastic, reclaiming several linear feet in a packed closet.
Specialty inserts, pull-out pant racks, tie/belt hooks, slant-front shoe shelves, help users see inventory at a glance. Avoid over-accessorizing: every moving part is a future maintenance point.
Material and Finish Selections for Durability and Style
Melamine-faced particleboard dominates modular systems: factory edge-banded, moisture-resistant (to a point), and available in white, gray, or wood-grain prints. It machines cleanly but won’t hold a screw in the same hole twice. For DIY repairs, use confirmat screws or insert bushings.
Plywood (¾-inch A/B or B/C grade) offers superior screw-holding and spanning strength. Birch or maple ply takes paint well: for stain, choose red oak or walnut veneer-core. Edges need iron-on banding or solid-wood trim. A sheet (4 × 8 feet) yields roughly 16 linear feet of 12-inch-deep shelving after cuts.
Solid hardwood shelves and rods add heft and a premium feel. Poplar is cost-effective and paint-grade: maple and cherry suit clear finishes. Beware wood movement, allow 1/16-inch gaps in wide panels to prevent seasonal buckling.
Finish options depend on exposure and user preference. Pre-catalyzed lacquer (sprayed by pros) dries fast and resists wear. Water-based polyurethane works for DIY brush/roll application, use 2–3 coats, sanding lightly with 220-grit between. Paint (semi-gloss or satin) hides imperfections and simplifies touch-ups: prime raw wood or MDF with shellac-based primer to prevent tannin bleed and ensure even coverage.
Laminates and thermofoil wrap MDF cores for a seamless, wipeable surface. They resist humidity better than paint but can delaminate if edges chip. Repairs are difficult, plan seams carefully and use edge profiles designed for the material thickness.
Lighting and Accessories That Elevate Your Wardrobe
Closet lighting must be code-compliant and fire-safe. Many jurisdictions follow NEC Article 410, which prohibits exposed incandescent bulbs in closets and mandates 12-inch clearances from storage to surface-mount fixtures. LED puck lights, tape lights, or flush-mount panels satisfy code, run cool, and last 25,000+ hours.
Motion-sensor or door-contact switches automate lighting. Battery-powered puck lights suit retrofits: low-voltage DC tape (12V or 24V) requires a driver but integrates cleanly into shelving. Aim for 300–500 lumens per 10 square feet (roughly 30–50 footcandles) to accurately see colors and textures.
Placement matters: install strips under each shelf to illuminate the contents below, or mount a linear fixture along the top front edge to wash the entire space. Avoid backlighting only, it creates silhouettes and shadows where the user needs visibility.
Color temperature should match the home’s ambient lighting. 3000K (warm white) feels residential and flatters skin tones: 4000K (neutral white) offers crisper color rendering for coordinating outfits. Avoid 5000K+ unless the closet doubles as a photography studio.
Accessories, full-length mirrors (minimum 48 × 16 inches), pull-out valet hooks, jewelry trays with anti-tarnish lining, and cedar panels or blocks for moth prevention, add function without clutter. Mirrors need solid backing anchored to studs or blocking: a falling mirror is a safety hazard and insurance claim.
Customizing Your Wardrobe Design to Fit Your Lifestyle
A capsule-wardrobe minimalist needs fewer linear feet of hanging and more drawer/shelf space for precisely folded stacks. Build in adjustable shelves at 12-inch spacing and skip specialty racks that’ll gather dust.
Professionals with extensive suit or dress collections benefit from double-hang sections (42 + 84 inches) and pull-out trouser racks. Allocate 2 inches per hanger for tailored garments: cramming causes wrinkles and shoulder dimples.
Active users (athletes, outdoor enthusiasts) require ventilated wire baskets or mesh drawers for gym gear, plus tall cubbies (14–16 inches) for boots and helmets. Consider a pull-out hamper or dedicated laundry chute if the closet backs onto a laundry room, coordinate with a plumber or framer to cut and line the chase.
Families sharing a closet should zone by user: his side, her side, kids’ lower section. Color-code or label zones to prevent morning conflicts. Install a step stool storage slot if children need access to higher rods.
Accessibility modifications, pull-down rods, motorized lift systems, or seated dressing areas, require blocking in walls (install 2×6 or 2×8 nailers between studs during construction or retrofit through drywall access). Consult an occupational therapist for reach ranges and clearances tailored to the user’s mobility.
Finally, leave 10–15% expansion room. Wardrobes grow. A system jammed to capacity on installation day becomes unusable in two years. Plan for what the user owns now plus reasonable future acquisitions.